Whether you are cooking for food allergies, follow a demanding diet like paleo or gluten-free, or simply like to stock healthy, real ingredients, feeding ourselves the way we want to (or need to!) can be expensive. What seemed like okay compromises when I was in university (largely ramen noodles and other similarly dry foods that come in a box or shrink wrapped) are either no longer options because of my son’s allergies, or just don’t cut it for anything more than a last minute emergency work lunch. My pantry has gone through a similar upgrade, with more whole, natural ingredients and healthier choices, which have done a nice job of upping my grocery bill. I try to be careful with what I throw my money at though, and over the years have learned that a few of these items can easily be made myself at a lower cost, so thought this would be worth sharing here alongside my usual posts. To start with I wanted to share how to make vanilla extract, because I think this is one DIY recipe that is worth the investment. Good vanilla extract can transform your recipe, and if you are a frequent baker also your bank account!
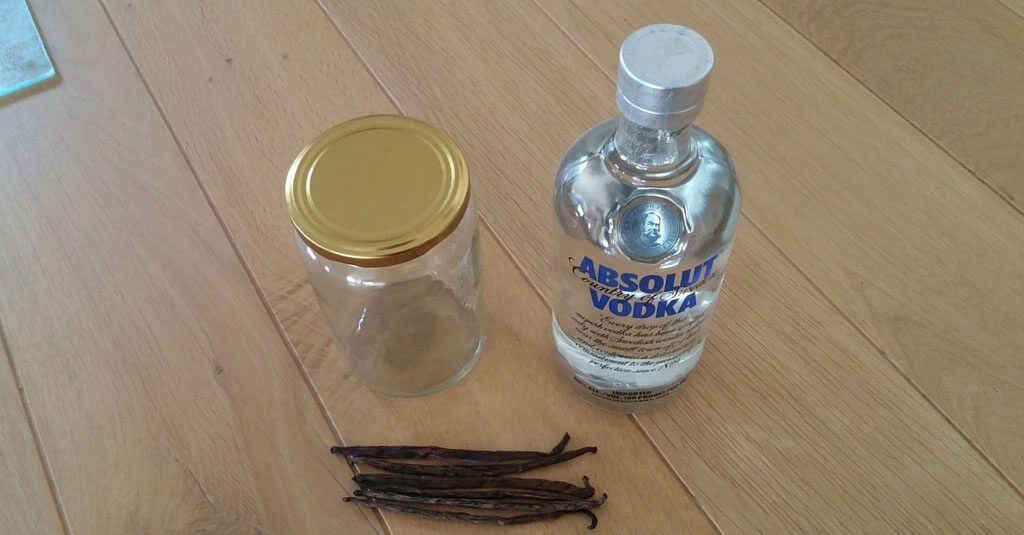
I’m not sure if it is true everywhere, but here real vanilla extract costs at least 5 times the price of synthetic. For me this adds up to a significant expense over the month. For a while I ordered online to reduce the cost, but this was still not a cheap solution, so finally I bought some vanilla beans online, picked up a bottle of vodka on sale, and started my first DIY ingredient project. For those of you planning on only making vanilla extract, ordering multiples of these beans will make more sense, but to save the most you should try to find someone else to split the bulk package I’ve linked to in my first link. I promise, the initial investment in these beans will pay for itself time and again.
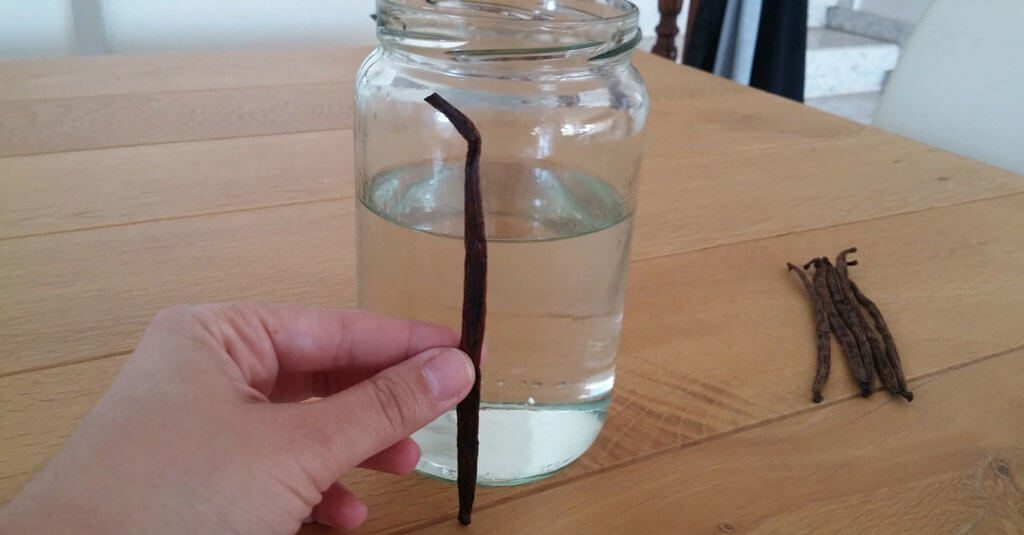
Making your own vanilla extract is surprisingly easy, if you have the patience to wait it out. I am the kind of person who puts things in the cupboard to rediscover them a year later, so the 2 month wait was an area I sort of excelled in. To get started you’ll want to boil your jar to sterilize it. Next you will need to cut your vanilla beans lengthwise to expose the inside of the bean. If you are using a wide jar you may want to also cut your beans in half to ensure they will be completely submerged by the alcohol.
Once you’ve finished the prep work, add your liquor (vodka and bourbon are both good choices, but any liquor that is at least 35% alcohol should work) and vanilla beans to the jar.
Seal the lid of the jar tightly and give it a quick shake. Then find a place in a dark, dry cupboard to store the jar while the flavours brew. You will want it to be fairly accessible, since you need to take it out to give it a shake once each week until it is ready.
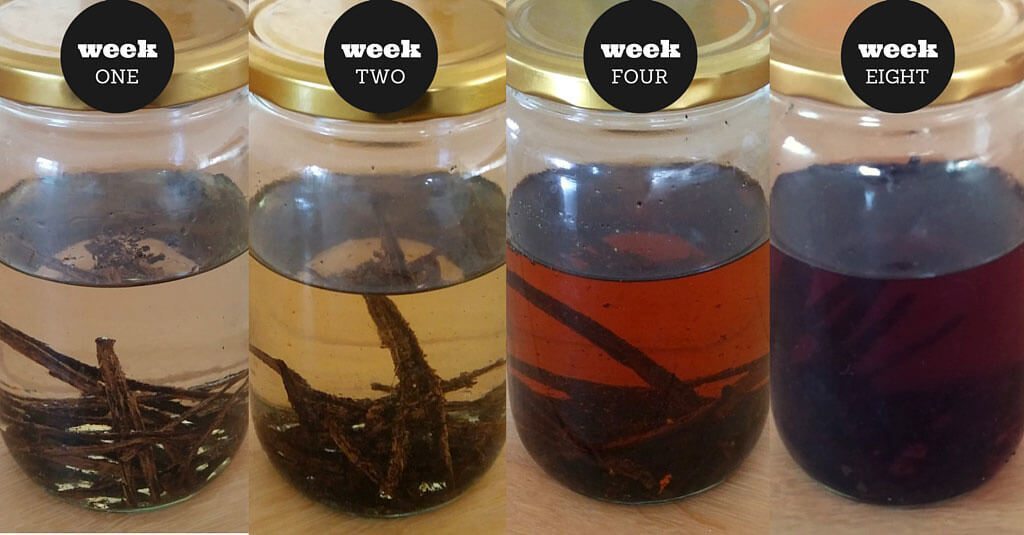
Each week you’ll see the colour (and flavour) intensify. Once it reaches a nice deep brown, you can give it a quick taste to gauge whether the flavour is strong enough for you. 2 months will likely be your minimum brew time, but you may want to leave it for 3, 4, or even 6 months to let those flavours really come out fully.
Once you are ready to use your homemade vanilla extract, you can choose to leave the beans in the jar to further enhance the flavour, and even top off the liquor in place of what you remove, similar to a continuous brew for kombucha. This will probably work best for occasional bakers, since the newly added liquor has a chance to develop a full flavour.
If you are a frequent baker, you’re probably better off moving the beans to a new jar of liquor to begin a second batch of alcohol, allowing the flavours to develop and intensify as you use up your first batch of vanilla.
Hope you find this post helpful. Will be sharing other DIY guides like how to make your own soy sauce substitute, seasoning blends, and nut butters in future posts.

- 500 ml vodka or bourbon
- 6-8 vanilla beans
- A 750 ml glass jar
- Cut your vanilla beans lengthwise to reveal the fresh vanilla inside.
- If necessary, cut your beans in half to ensure they will stay submerged within your alcohol.
- Pour your alcohol into the jar and add your vanilla beans.
- Close the jar tightly and give it a shake.
- Store the jar in a dark cupboard to 'brew'.
- Give the jar a good shake once each week.
- After 6-8 weeks, taste the vanilla and decide if it is strong enough to start using or if you want to wait longer.
- You can leave the vanilla beans in the jar to continue to enhance the flavour, or transfer them to a new jar to begin a second batch of vanilla extract.

 Welcome!


I wonder if you could significantly speeding the process by first blending the vanilla beans and vodka, then after a week or so straining it through cheesecloth? Seems like the increased surface area would significantly speed up the time required for this.
Hi Jeff!
I know some people actually substitute ground vanilla bean for vanilla extract, but have never heard of it being used to make vanilla extract.
I also try to avoid having to strain anything through cheesecloth, so particularly like this approach – also because of how easy it is to start a new bottle brewing while I use the one that is ready.
Thanks for checking out my post!
You should really use extract grade (also known as B-grade) vanilla beans for making extract. They are less expensive, and are actually better for this purpose because they have less moisture in.
Great tip Chris!
I’ll have to look into where to buy these and what the difference is exactly, but if it will produce the same quality end product for less then I will definitely try it